Mfr Part # 28009
EXPERIENTIAL ROBOTICS PLATFORM (
SparkFun Electronics
In this tutorial, we’ll dive into one of the most essential parts of working with ROS 2: the command-line interface (CLI). Before writing any code, it’s important to understand the basic tools that ROS 2 provides for exploring, debugging, and interacting with nodes, topics, and services. These tools will be invaluable when you're developing and testing your own robotic applications.
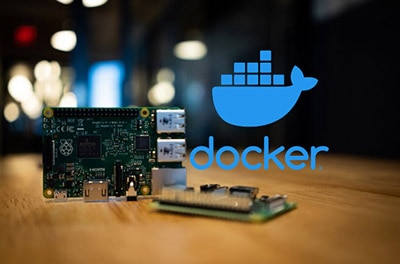
Prerequisites: You should have a ROS 2 development environment ready. If you're following along with our series, we’ll be using a Docker image with ROS 2 Jazzy pre-installed. You can view the Docker setup instructions here: https://github.com/ShawnHymel/introduction-to-ros

ROS (Robot Operating System) is a middleware that allows you to write modular, scalable robotics applications. Three of the most fundamental building blocks in ROS 2 are:
Understanding how to monitor and interact with these using the CLI is a critical skill. These tools let you visualize node communication, diagnose errors, and simulate communication patterns without writing any code.
To start, download the GitHub repository from: https://github.com/ShawnHymel/introduction-to-ros. You can do this by clicking Code > Download ZIP file or by using the git command line tool (if you have it installed on your system):
git clone https://github.com/ShawnHymel/introduction-to-ros
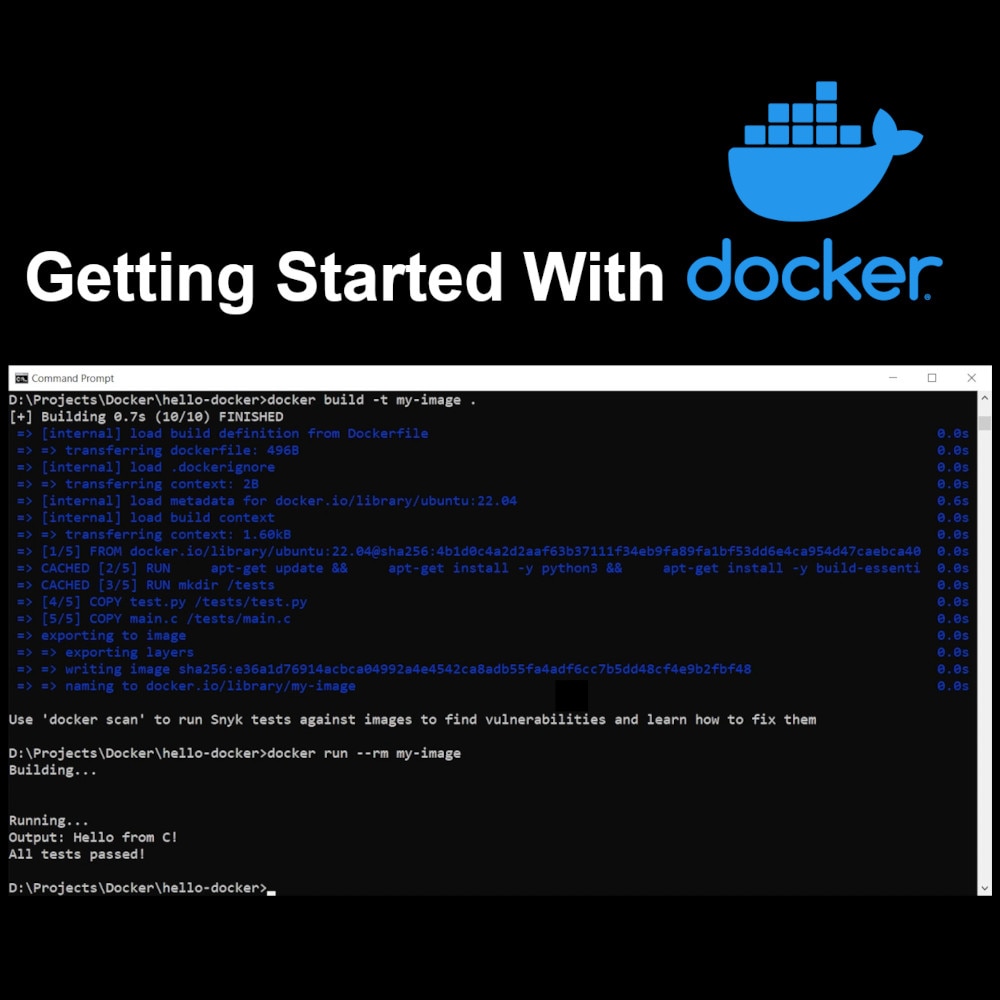
Navigate into the repository’s directory and build the Docker image:
cd introduction-to-ros
docker build -t env-ros2 .
Start the Docker container that contains your ROS 2 environment. On macOS or Linux, run:
docker run --rm -it \
 -e PUID=$(id -u) \
 -e PGID=$(id -g) \
 -p 22002:22 \
 -p 3000:3000 \
 -v "${PWD}/workspace:/config/workspace" \
 env-ros2
On Windows (PowerShell):
docker run --rm -it \
 -e PUID=$(wsl id -u) \
 -e PGID=$(wsl id -g) \
 -p 22002:22 \
 -p 3000:3000 \
 -v "${PWD}\workspace:/config/workspace" \
env-ros2
Open a browser and navigate to localhost:3000. All your custom code will be stored in the workspace directory. Note that this directory is mapped to your host operating system, so any work you do in the ROS environment will be saved on your computer.
To check that everything is working, open a terminal in the container and run:
ros2
You should see a list of ROS 2 subcommands, such as topic, service, node, and run. This confirms that ROS 2 is installed and correctly sourced.
If you’re using a system where ROS 2 isn’t automatically sourced, you can run:
source /opt/ros/jazzy/setup.bash
This step ensures that the environment variables and paths are correctly set up so you can use all the ROS 2 CLI tools.
Let’s try launching two example nodes provided by ROS 2:
ros2 run demo_nodes_py talker
This starts a Python node that publishes a message to the /chatter topic every second. Open a new terminal and run:
ros2 run demo_nodes_py listener
The listener node subscribes to the /chatter topic and prints the messages it receives. You’ve just started your first ROS 2 nodes and created a functioning publish/subscribe communication!
Use the following command to see which topics are active:
ros2 topic list
You’ll see several topics, including /chatter, /parameter_events, and /rosout. Each topic represents a data stream that nodes can interact with.
To get more detailed information about a specific topic:
ros2 topic info /chatter
This will show you the message type and how many publishers and subscribers are currently connected to this topic.
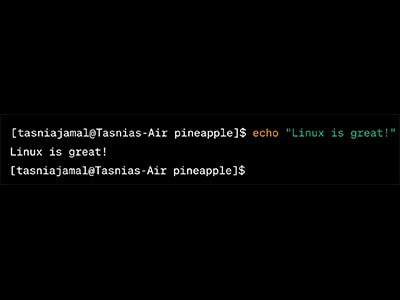
You can also inspect live message traffic by echoing a topic:
ros2 topic echo /chatter
This command is invaluable for debugging and understanding what data is being passed around between nodes.

Interfaces define the structure of messages and services in ROS 2. To explore all available interfaces, run:
ros2 interface list
To see the format of a specific message type:
ros2 interface show std_msgs/msg/String
This will show that the String message contains a single data field. You can use this approach to explore more complex message types and understand what kind of data they contain.

Run the GUI tool RQT:
rqt
Select Plugins > Introspection > Node Graph. This shows nodes and topics in a visual format. It’s helpful for understanding how nodes interact. Note that you can also enter the following to jump straight to this node graph visualizer:
rqt_graph
Click the refresh button to ensure that the visualizer picks up the running nodes. You should see your /talker and /listener nodes running in the graph.

Press ctrl+c in both terminals to stop the broadcaster and subscriber nodes. Next, we’ll explore services, which use a server/client model. The client sends a request to the server, the server processes the request, and then the server sends back a response to the client.
Let’s now look at how to work with ROS 2 services from the command line. Start a service server:
ros2 run demo_nodes_cpp add_two_ints_server
This node exposes a service that adds two integers together. You can view available services:
ros2 service list
To get detailed information about a specific service:
ros2 service info /add_two_ints
You can see what kind of request and response data is expected using:
ros2 interface show example_interfaces/srv/AddTwoInts
Now, let’s call the service:
ros2 service call /add_two_ints example_interfaces/srv/AddTwoInts "{a: 3, b: 5}"
The result will be displayed in the terminal. This is a great way to test services before integrating them into your own code.
Finally, you can run the matching client:
ros2 run demo_nodes_py add_two_ints_client
This demonstrates how nodes written in different languages (C++ and Python) can communicate using shared message interfaces.

You’ve now seen how to:
In the next tutorial, we’ll begin writing our own custom ROS 2 nodes using Python. Understanding these tools will help you test and debug each component as you build more complex applications.
Stay tuned!